Introduction
Log in to the admin account and retrieve the flag.
Prerequisites
- Completed the challenge
Blogodogo #1 - The referral token
83d99a0ac225079db31b44a2e58b19f0to create an account.
Solution
After successfully completing the previous challenge, Blogodogo #1, we obtain a referral code that allows us to create an account.
This allows us to create an account with the credentials test:test.
In the challenge sources, there is a directory called /bot which simulates an administrator’s connection and clicks on a link passed as a parameter:
|
|
We need to find where the bot is launched in the sources, and we find this function in routes.py that triggers the bot if the URL passed as a parameter is valid:
|
|
Note: The
subprocess.run()function allows executing a command in the terminal, but in our case, there is no possibility of command injection. To make thesubprocess.run()call vulnerable, theshellargument would need to be set toTrue(by default, it isFalse).Example:
subprocess.run(["node", "/app/bot/bot.js", url], shell=True)
To send the URL to the bot, the URL needs to be in the format http://localhost:5000/....
Undoubtedly, this will involve an XSS exploit at some point.
Finding the XSS
We know that we can send a link to the administrator, but we don’t know yet how to make them execute JavaScript.
We need to find an entry point for our XSS.
First lead: posts
The first injection I tested was injecting into an article.
I tried injecting JavaScript and HTML into the title, slug, and content of the article, but special characters are being escaped.
Injections into posts are not possible.
Second lead: usernames
The second injection I tested was injecting into the username.
I tried injecting JavaScript and HTML into the username, but once again, special characters are being escaped.
Injections into usernames are not possible.
Third lead: user profile
For the last lead, I turned to the user profile page.
On this page, we find a form to modify the username, password, website, and avatar.

If we look at the page’s source code, we come across this script:
|
|
It seems we are on the right track to find our XSS because the script retrieves the URL’s hash and clicks on the element with that ID.
This means that with a URL in the format http://localhost:5000/profile#<id>, we can make the script click on an element of the page.
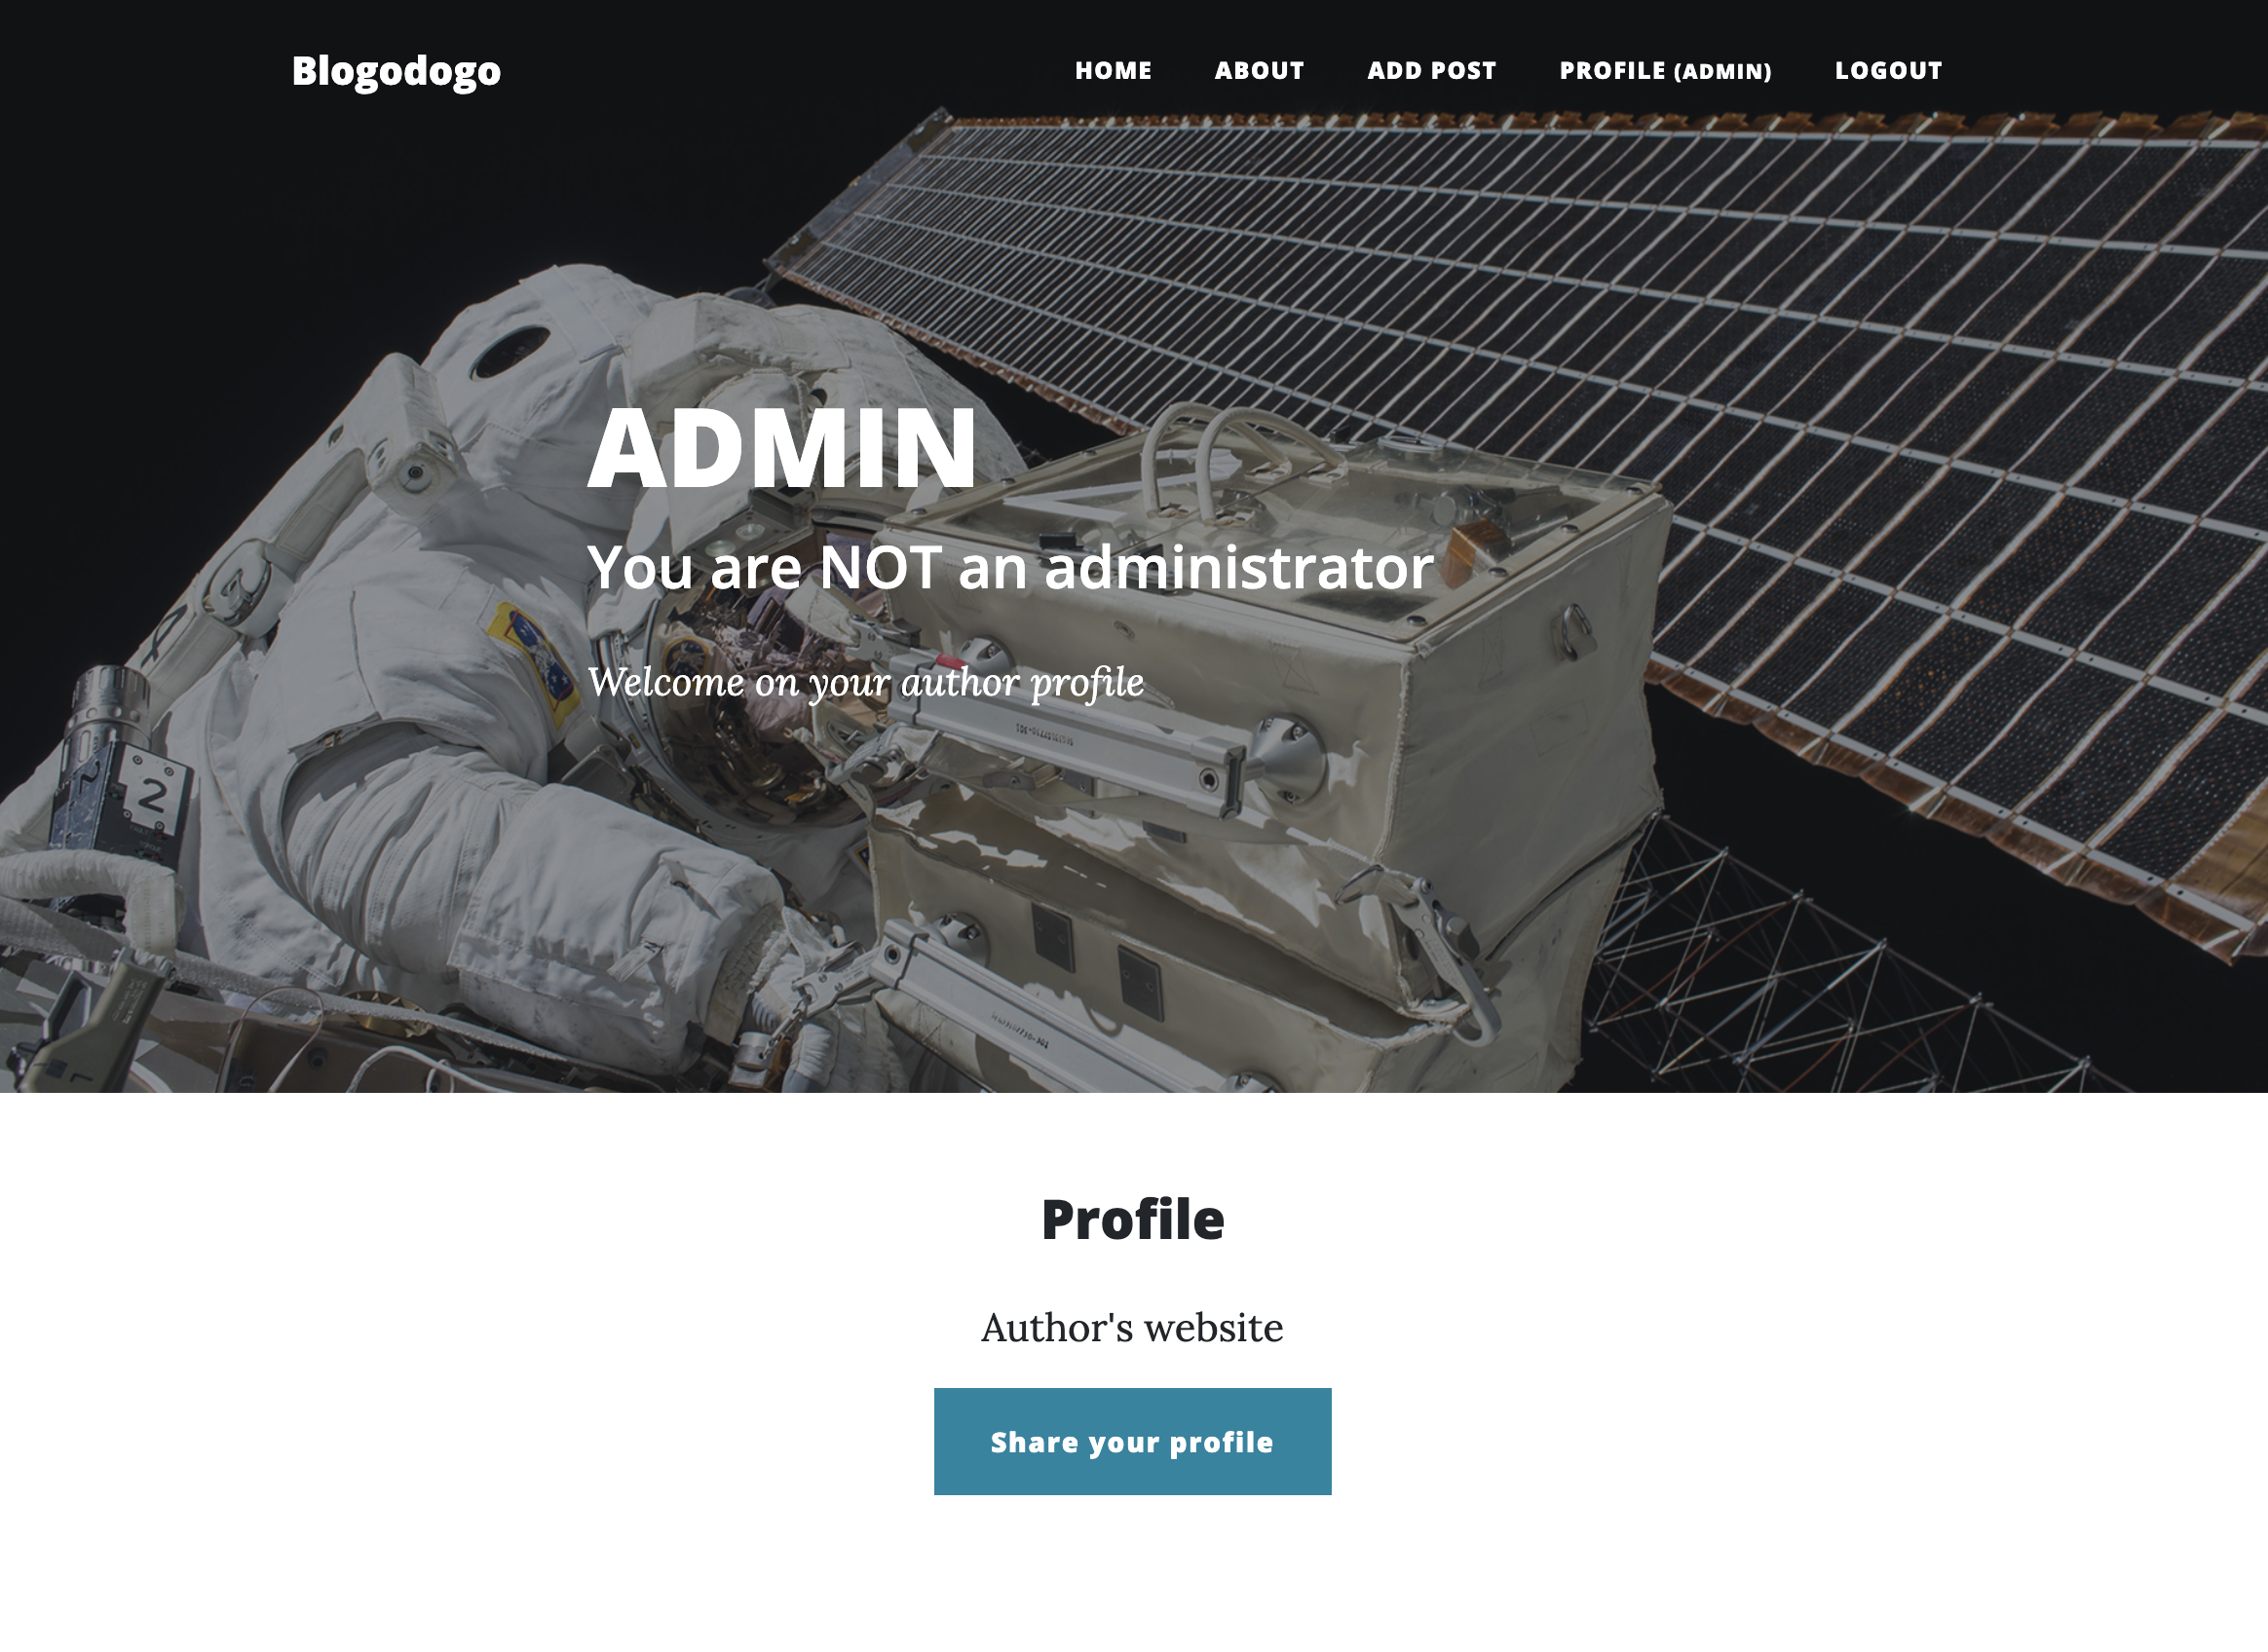
Looking at the page, we see two clickable elements: the “Author’s website” link and the “Share your profile” button.
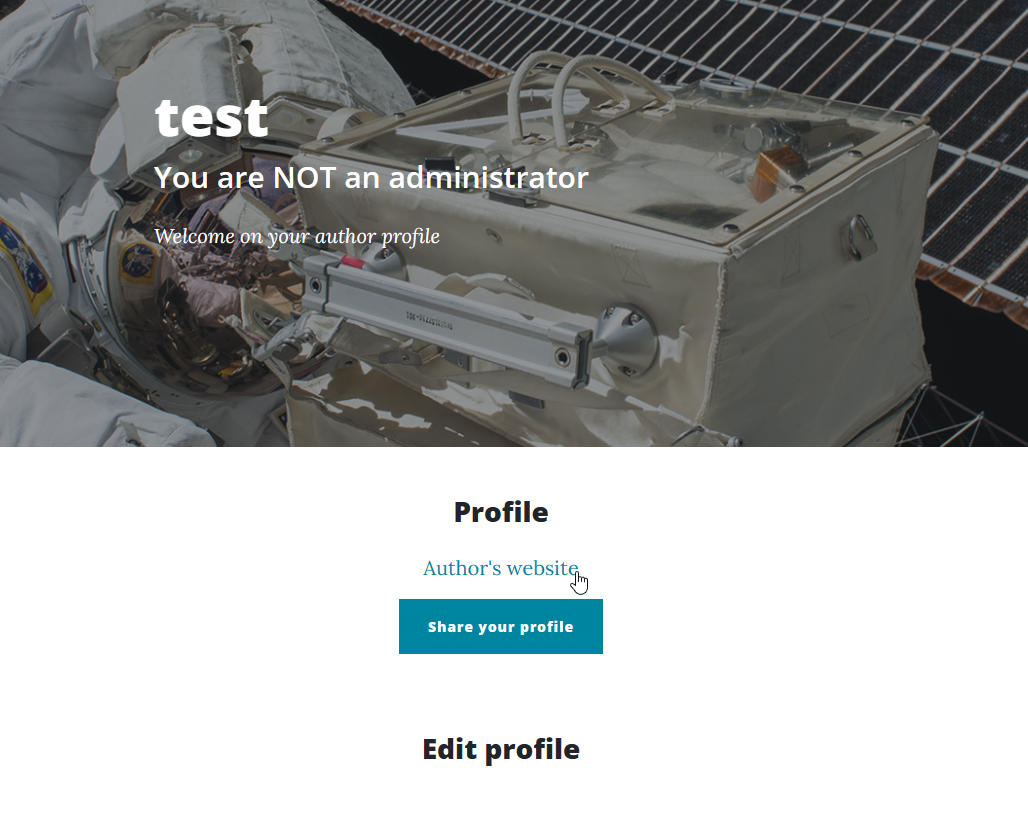
The link to the author’s website corresponds to /profile# for now, and the “Share your profile” button opens a pop-up.
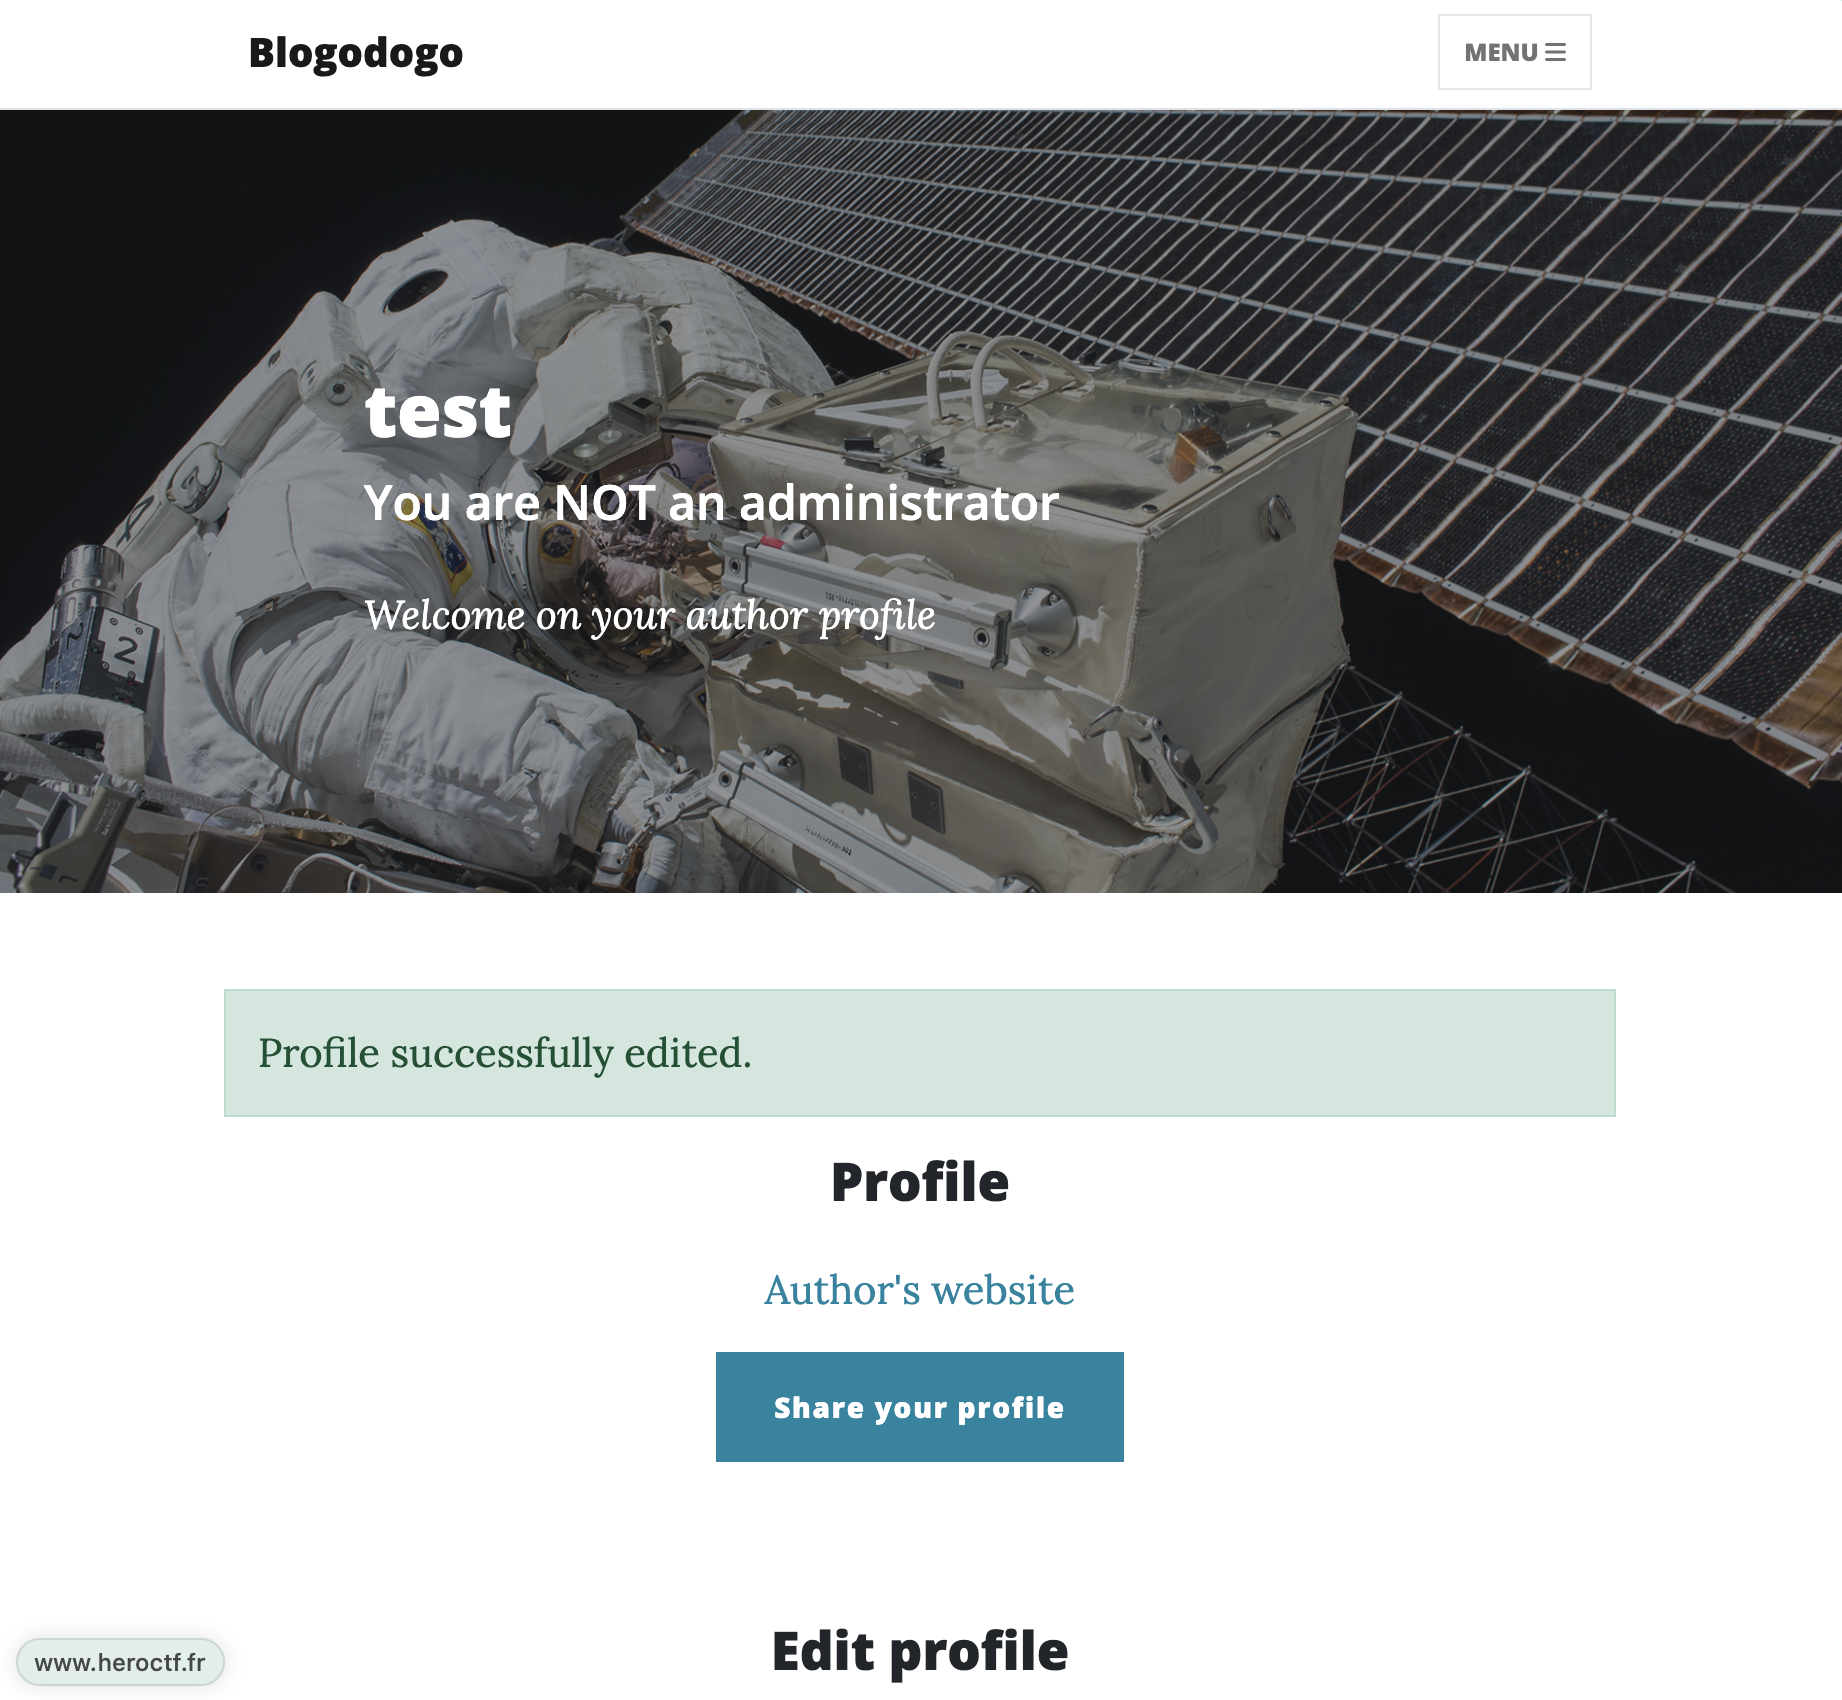
If we look at the form on the profile page, we see that we can modify the “Custom URL”.
When trying to modify the “Custom URL” with a random URL, we see that the “Author’s website” link is updated with our URL.
We can naively try an XSS with the URL "><script>alert();</script> and see if the script is executed.
Unfortunately, except for parentheses, special characters are escaped.
|
|
We can try another payload, javascript:alert(), which does not require leaving the href attribute.
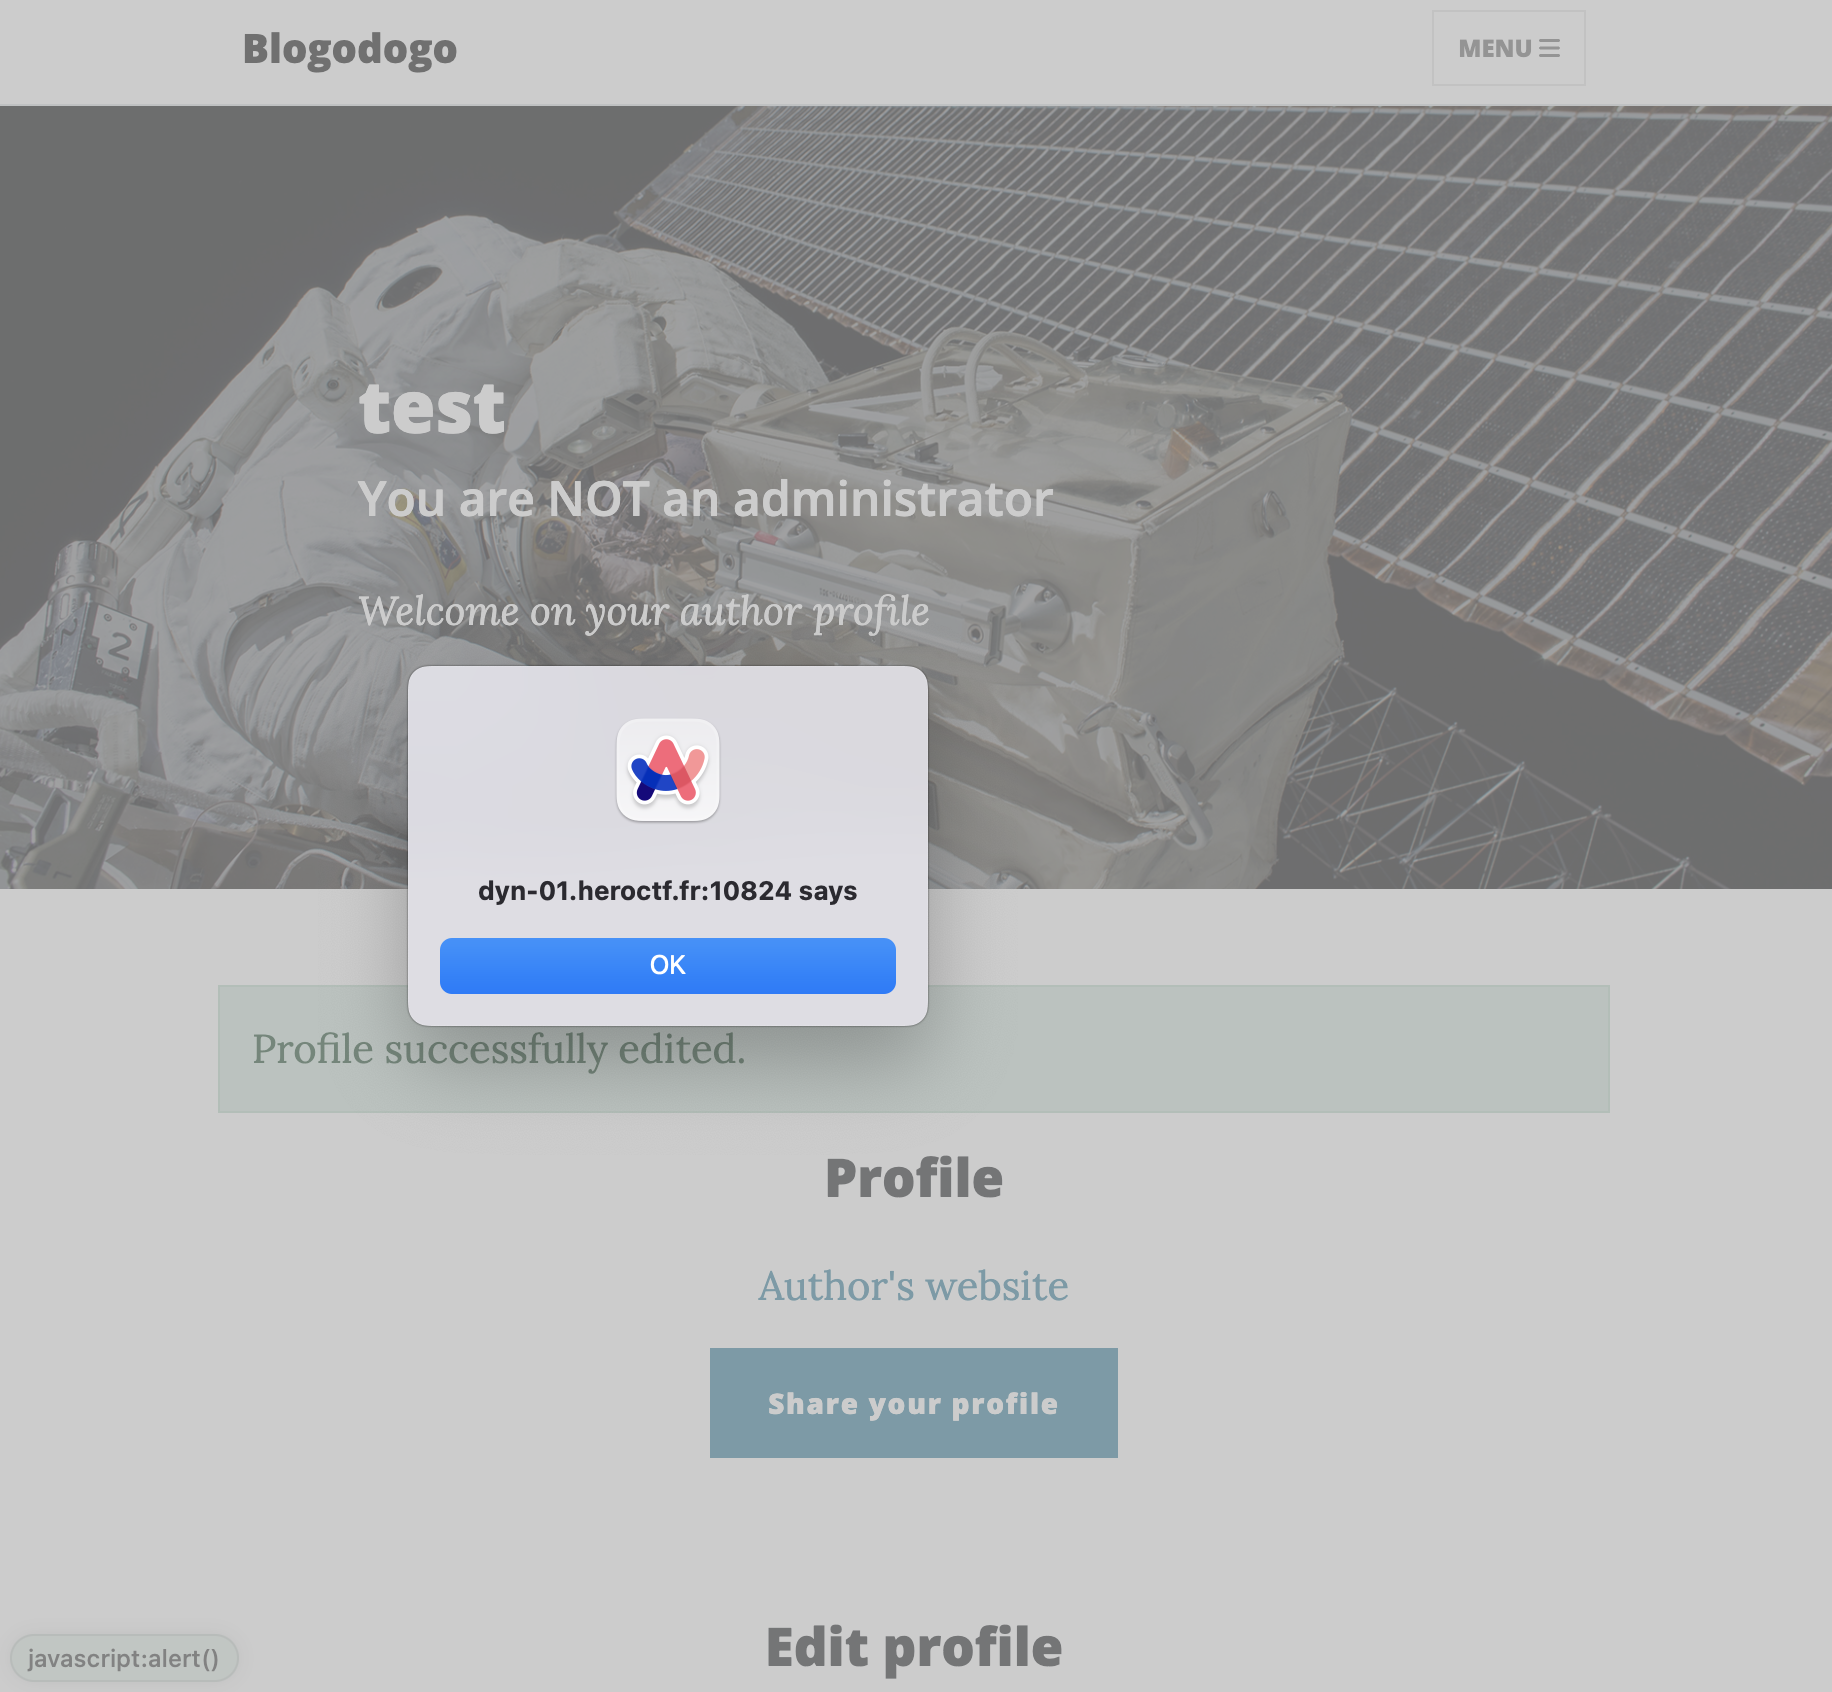
And there we realize that we have successfully executed JavaScript!
If we remember the script we found on the home page earlier, by sending the URL /profile#author-website, we can make the admin bot click on the “Author’s website” link and execute our JavaScript.
Now we can go further and try to steal the admin’s cookie.
Stealing the Admin’s Cookie
To steal the admin’s cookie, we would need to create a payload that extracts a user’s cookies and sends them to our server.
After several attempts, I was unable to steal the cookies because document.cookie is empty.
The reason for this can be found in the config.py file where cookie configuration is set:
|
|
We can see that SESSION_COOKIE_HTTPONLY is set to True, which means that cookies are not accessible in JavaScript.
Source: https://flask.palletsprojects.com/en/2.3.x/config/#SESSION_COOKIE_HTTPONLY
Therefore, we need to find another way to access the admin account since we cannot steal their cookies via XSS.
Changing the Password
Let’s take a closer look at the profile editing form. Here’s the relevant code responsible for it:
|
|
We can see two checks here:
- If the new username already exists
- If the two passwords do not match
However, we notice that the value of the old password requested on the web interface is not used.
This means that by successfully executing JavaScript on the admin, we could make them go through a process that changes their password.
Recall that the admin can visit a link sent to them via /post/report, and they can click on the link to their profile if we send them the URL /profile#author-website.
Note: We will see later in the write-up that it is possible to overwrite the admin’s custom URL value and thus make them execute our password change script.
To create a script that changes the admin’s password, we need four things:
- Change the value of the
usernamefield to matchadmin - Change the value of the
new_passwordfield tocracked - Change the value of the
new_password_confirmfield tocracked - Click the
Edit Profilebutton
Here is the script I wrote to accomplish this:
|
|
This script can be executed in a single line:
|
|
We can try it on our profile by updating the Custom URL with this payload:
|
|
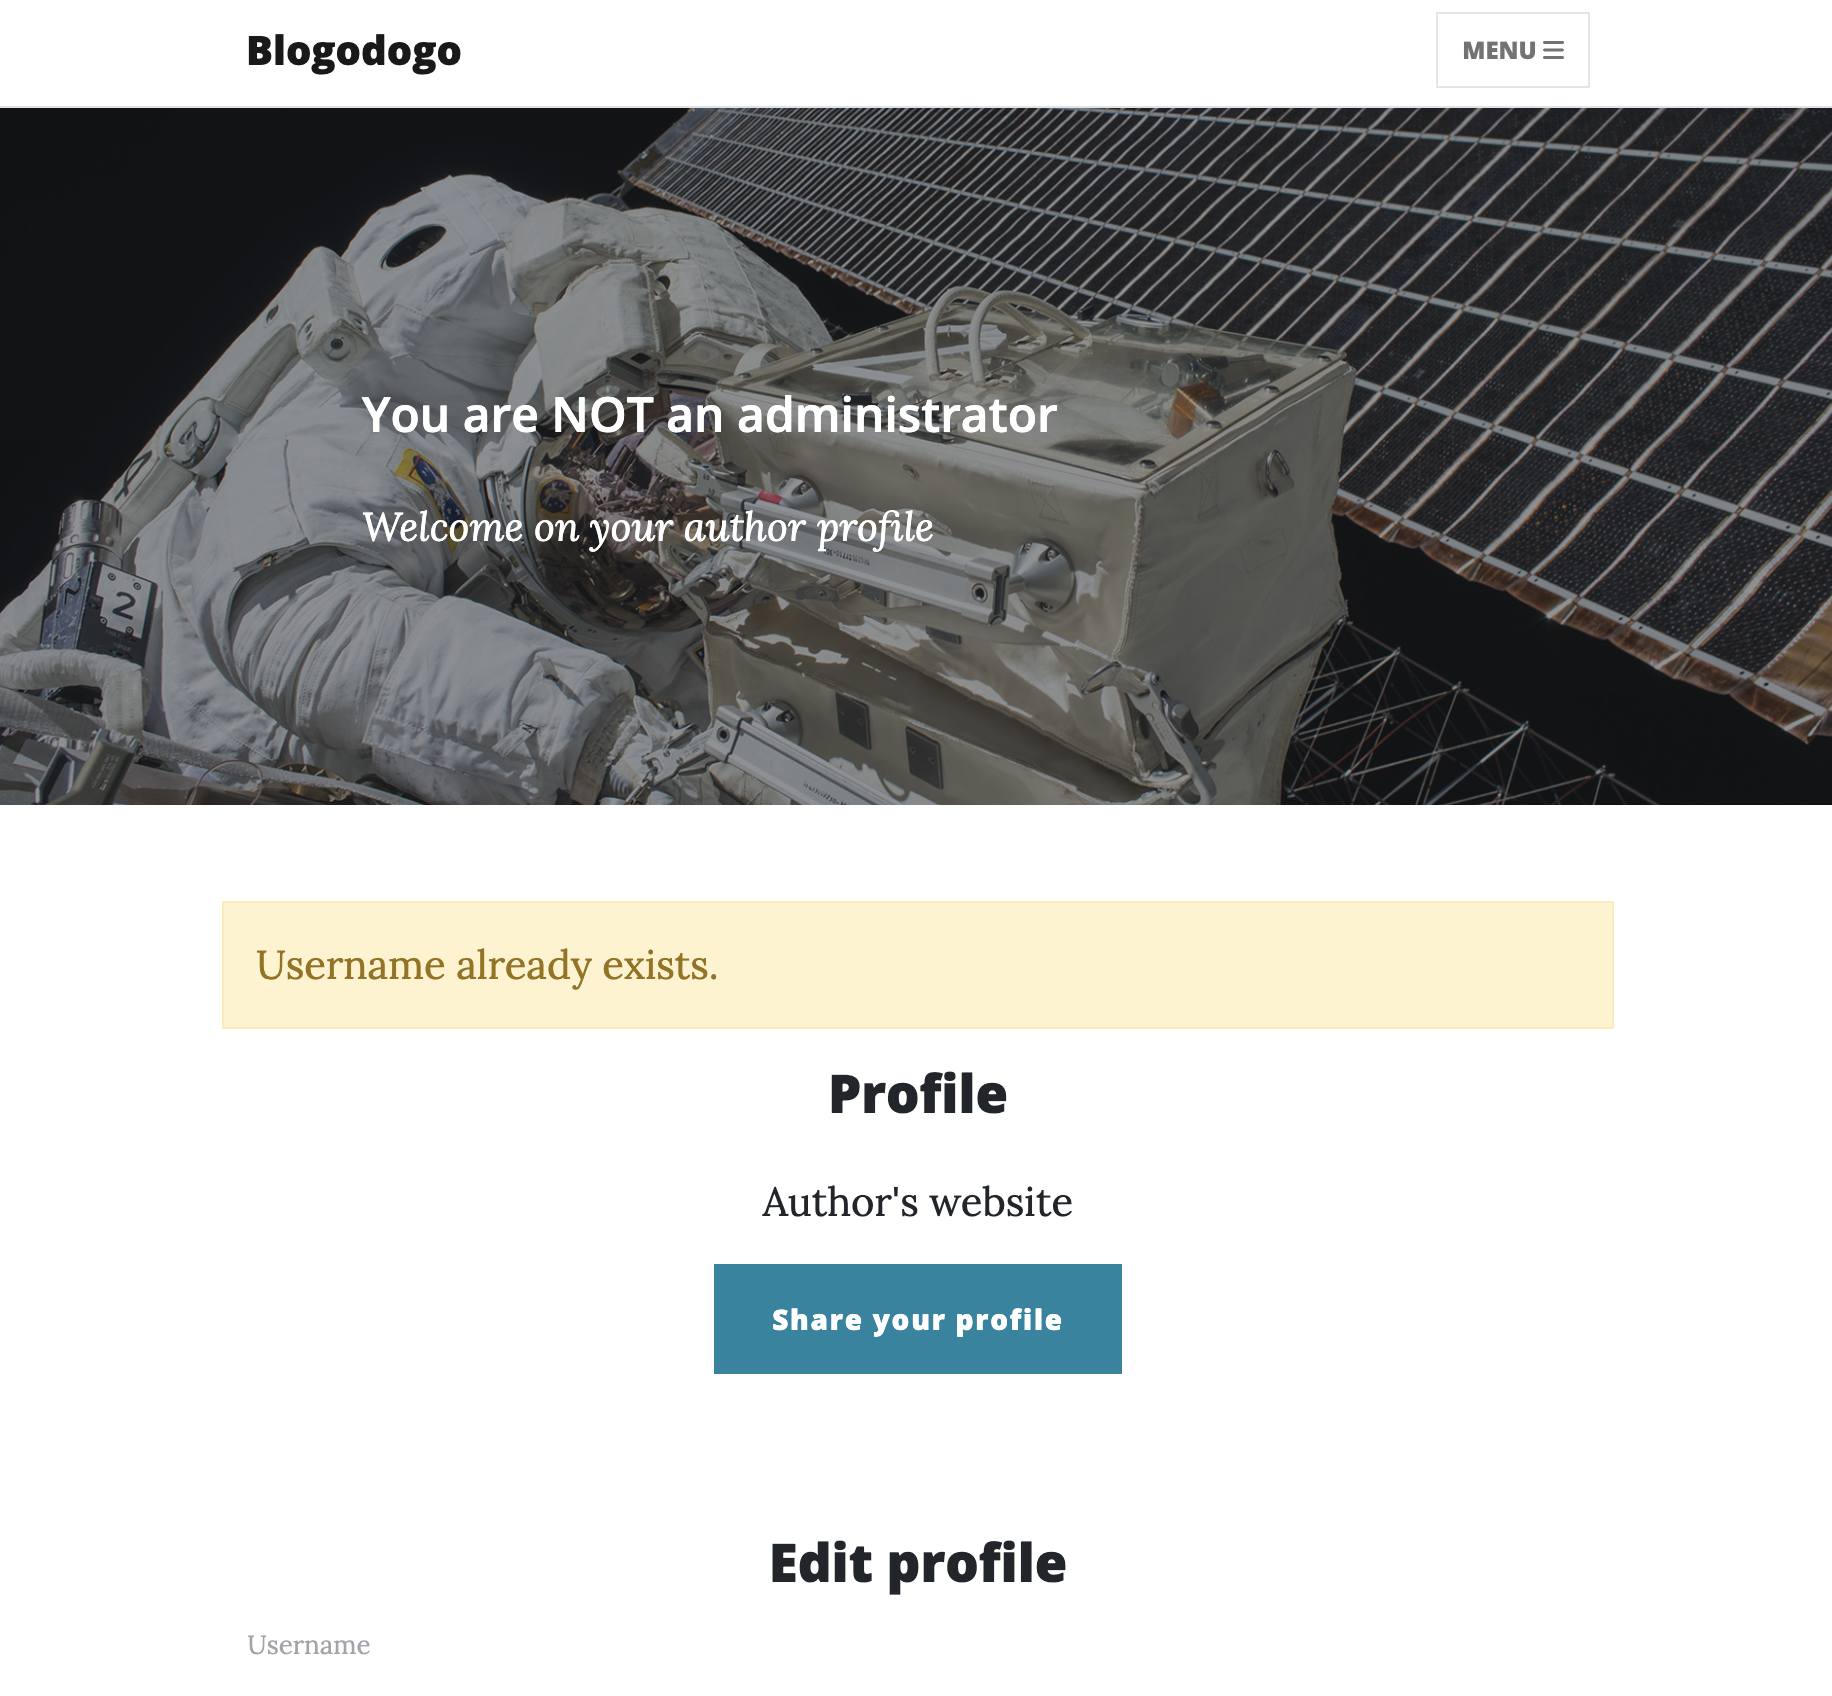
The script works fine, but we cannot rename ourselves to admin since the username already exists.
However, when trying it with the username of the account I created, test, we can see that the script works and the password is changed.
But I notice something strange… Sometimes when I change my URL, it is not updated.
Injecting a Custom URL on the Admin’s Profile
To better understand this, let’s look at the rest of the /profile route in the routes.py file:
|
|
Here, we can see the Redis caching process.
Every time a user visits the /profile page, their username and custom url are cached in Redis.
We can see that it is not actually the username used for the cache, but the lowercase username.
Here’s the detailed process for the user tEST visiting their profile:
- Generating Redis keys
profile_test_urlprofile_test_username
- Retrieving cached values
- If the keys do not exist in the cache
- Caching the values
- Expiring the keys after 60 seconds
- Displaying the profile with the cached values
We can see that the username used in the Redis keys is test and not tEST because it is converted to lowercase.
This means that we can create an account with the username ADMIN, and it will have the same cached values as the admin user.
Thus, we can immediately think of an attack that will change the administrator’s password by polluting the cache with our payload.
So I created an account with the username ADMIN and put the payload from earlier in the Custom URL field:
|
|
To ensure that the payload is properly interpreted, I performed an execution using a base64-encoded string:
|
|
The cache was updated with this payload, and the admin account now has the same custom URL as mine.
Note: We can verify that cache pollution works by creating another
adminaccount with a letter or more in uppercase. With this account, when visiting its profile, we can see that the author’s website custom URL is the one defined earlier on the other account.
If I send the URL /profile#author-website as a report to the administrator, their password will be changed to cracked.
|
|
The administrator has been notified of my report, and their password has been changed.
Important: The URL must be sent to the admin within 60 seconds after polluting the cache; otherwise, the cache will expire, and the URL containing the payload will not be retrieved.
We can now log in with the username admin and the password cracked:

Flag: Hero{very_n1ce_move_into_c4che}
Tips & Tricks
- Always refer to the documentation of the functions used in the source code when testing for an injection.
- Look into the source code of the pages.
- The
SESSION_COOKIE_HTTPONLYparameter allows restricting access to the session cookie in JavaScript on Django. - When unable to access cookies during an XSS (Cross-Site Scripting) attack, find alternative ways to access the account, such as changing the administrator’s password.
- Verify how access controls are implemented on the pages.
- Check how caching is managed and its lifespan.